一个最小可运行Linux操作系统需要内核镜像bzImage和rootfs,本文整理了其制作、安装过程,调试命令,以及如何添加共享磁盘。
编译内核源码
从 The Linux Kernel Archives 网站下载内核源码,本文下载的版本为4.14.191,4.14.191源码下载。
使用wget获取源码。
wget https://mirrors.edge.kernel.org/pub/linux/kernel/v4.x/linux-4.14.191.tar.gz
解压源码:
tar -xvf linux-4.14.191.tar.gz
解压后进入源码根目录linux-4.14.191,指定编译的架构,依次执行下面的命令,打开配置菜单。
1 | cd linux-4.14.191 |
在配置菜单中,启用内核debug,关闭地址随机化,不然断点处无法停止。
1 | Kernel hacking ---> |
开始编译内核,-j 指定并行编译作业数。最终生成linux-4.14.191/arch/x86_64/boot/bzImage文件。
1 | make -j 20 |
内核编译完成。
配置Busybox
启动内核还需要一个具有根文件系统的磁盘镜像文件,根文件系统中提供可供交互的shell程序以及一些常用工具命令。
我们借助busybox工具来制作根文件系统。
本文使用1.32.0版本,下载busybox。
解压:
tar -jxvf busybox-1.32.0.tar.bz2
进入busybox根目录,配置编译选项。
1 | cd busybox-1.32.0 |
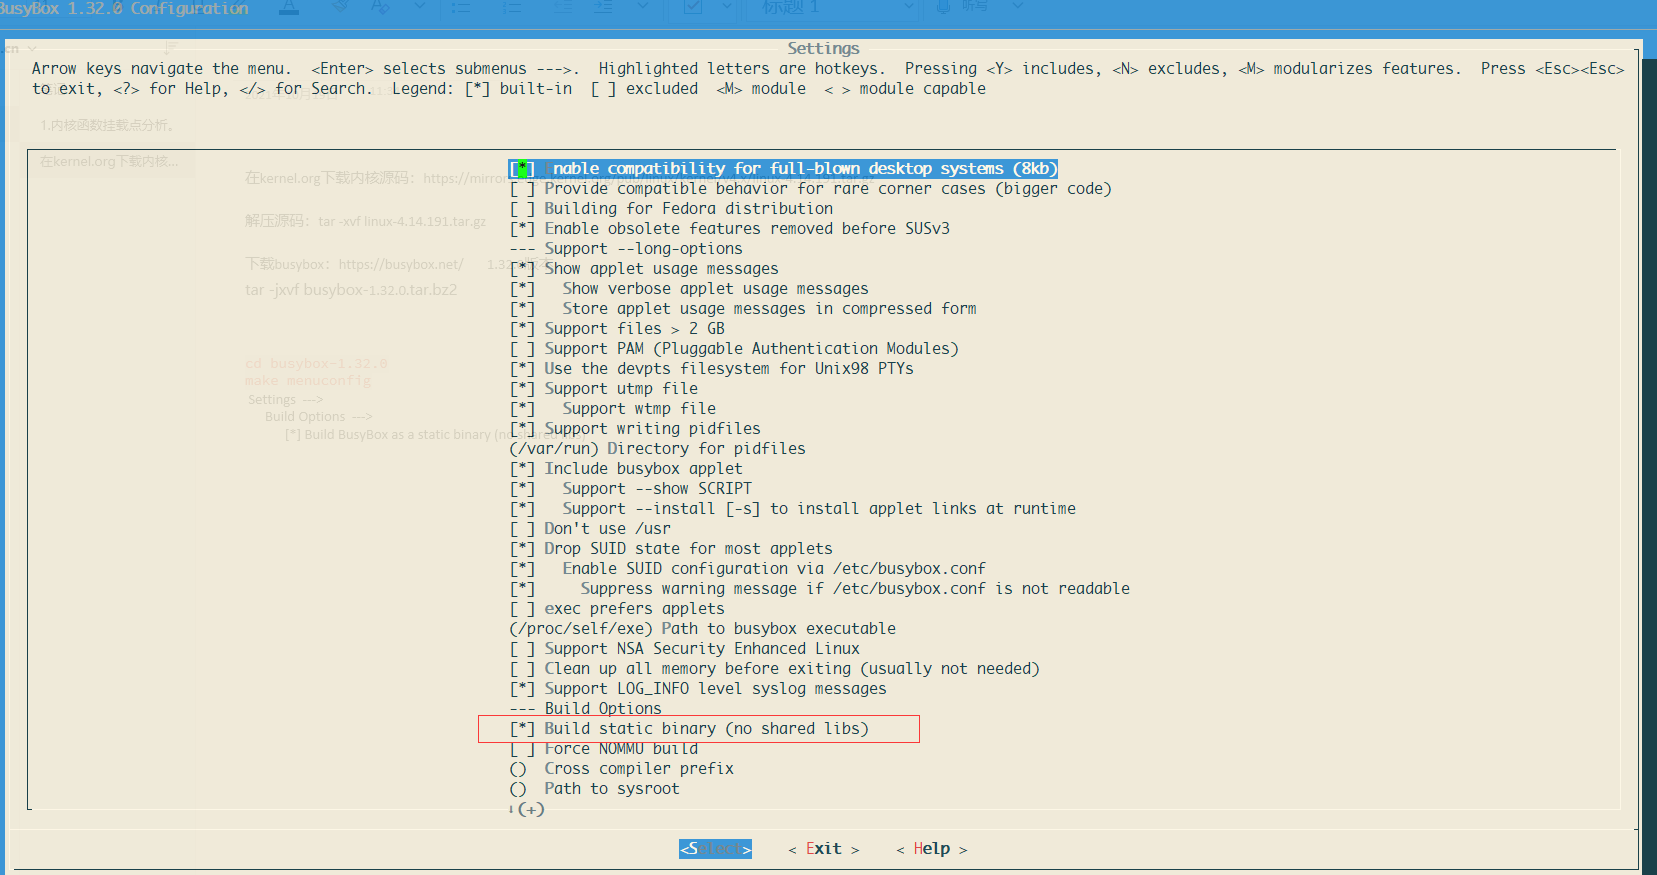
把busybox配置为静态编译。
1 | Settings ---> |

制作rootfs
接下来制作rootfs镜像文件,并把busybox安装到其中。
使用dd命令创建文件,并格式化为ext4文件系统。
1 | szp@r420-PowerEdge-R420:~/busybox-1.32.0$ dd if=/dev/zero of=rootfs.img bs=1M count=10 |
创建用于挂载该镜像文件的目录fs,挂载后才能往里面写入busybox。
使用mount命令将rootfs.img挂载到fs目录,编译busybox并写入fs目录中。
1 | szp@r420-PowerEdge-R420:~$ mkdir fs |
接下来对写入的busybox进行补充配置。
1 |
|
制作完成的rootfs目录如下:
最后,卸载rootfs.img
1 | szp@r420-PowerEdge-R420:~/busybox-1.32.0$ sudo umount fs |
至此,一个带有rootfs的磁盘镜像制作完成。
启动qemu
使用如下命令启动无GUI的qemu,参数含义如下:
-kernel # 指定编译好的内核镜像
-hda # 指定硬盘
-append “root=/dev/sda” 指示根文件系统 console=ttyS0 把QEMU的输入输出定向到当前终端上
-nographic 不使用图形输出窗口
-s 是-gdb tcp::1234缩写,监听1234端口,在GDB中可以通过target remote localhost:1234连接
1 | qemu-system-x86_64 -kernel ./linux-4.14.191/arch/x86_64/boot/bzImage -hda ./busybox-1.32.0/rootfs.img -append "root=/dev/sda console=ttyS0" -nographic |
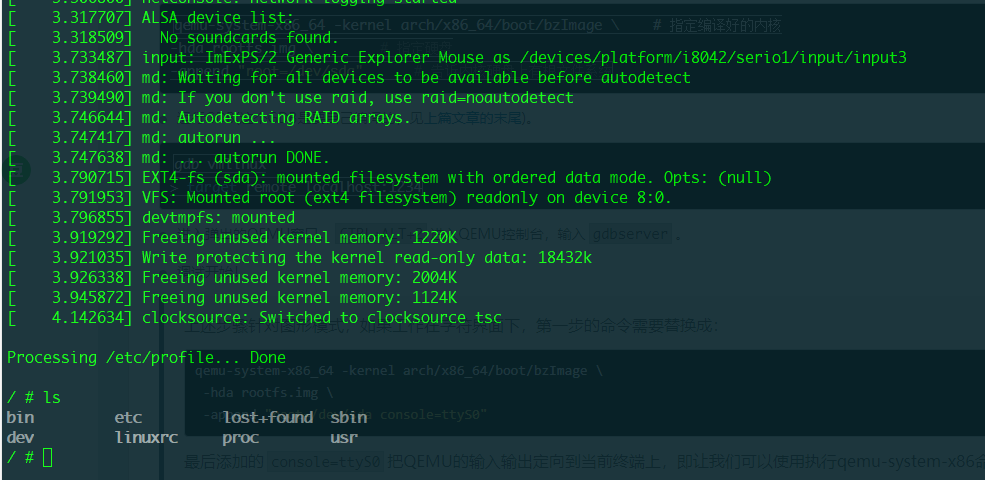
启动后如下图:

Ctrl+A 松开后按 X 退出qemu。
内核函数调试
启动命令中添加-s参数与-S参数启动qemu。
1 | szp@r420-PowerEdge-R420:~$ qemu-system-x86_64 -kernel ~/linux-4.14.191/arch/x86_64/boot/bzImage -hda ~/busybox-1.32.0/rootfs.img -append "root=/dev/sda console=ttyS0" -s -S -smp 1 -nographic |
启动gdb远程调试。vmlinux文件在编译后的内核源码根目录下。
1 |
|
在new_sync_read函数添加断点,continue。

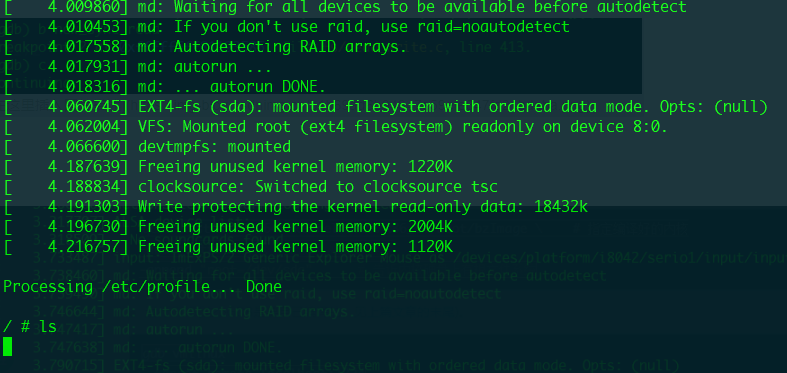
在系统中执行ls命令,触发new_sync_read函数,


至此,完成了qemu环境下使用gdb进行内核函数的调试。
添加共享磁盘
有时候需要在宿主机和qemu虚拟机之间共享文件,添加一个共享磁盘将有助于该项工作。
创建64MB磁盘镜像文件,并格式化为ext4,作为共享磁盘备用。
1 | szp@r420-PowerEdge-R420:~/shadisk$ dd if=/dev/zero of=ext4.img bs=512 count=131072 |
修改qemu启动命令,使用-hdb增加一个磁盘。
1 | qemu-system-x86_64 -kernel ~/linux-4.14.191/arch/x86_64/boot/bzImage -hda ~/busybox-1.32.0/rootfs.img -append "root=/dev/sda console=ttyS0" -s -smp 1 -nographic -hdb ~/shadisk/ext4.img |
进入qemu系统后使用mount命令挂载sdb到mnt目录。

在原系统中挂载ext4.img,实现qemu与原系统的文件共享。
1 | szp@r420-PowerEdge-R420:~/shadisk$ sudo mount -t ext4 -o loop ext4.img ./share |

至此,可以在宿主机器share目录下,与qemu中的虚拟机器进行文件共享。


